The IOTA GUI is here!

The main purpose of IOTA is to serve the machine economy by enabling feeless M2M (Machine-to-Machine) payments, tamper-proof data security as well as whole range of new tools and products that we’re working on and will talk more about soon. As we are working hard to achieve that vision together with some of the largest companies in the world, it is important to keep the user-friendliness of our products in mind.
Because of its novel nature, IOTA can be hard to grasp for newcomers, and even for people coming from other Blockchain projects. As we’re working on more tutorials and blog post that help support this learning effort, one of the most anticipated projects of the community was our GUI. As such, today we’re happy to announce that theIOTA GUI is officially ready for use!
The GUI is mostly oriented towards people who have none, or very little development experience. As such, we provide ready made packages that enable you to utilize the GUI witha simple 1-click-install process.
All you have to do is download the relevant package for your OS from here:https://github.com/iotaledger/wallet/releases(look out for the “Latest Release” tag). We provide packages for macOS, Windows and Linux (deb, rpm and tarballs) for both, 32-bit and 64-bit.
If you want to compile the Wallet yourself, you can simply follow the instructions as set forth here:https://github.com/iotaledger/wallet-packager. Remember to install the necessary dependencies on your machine in order to be able to compile successfully with Electron.
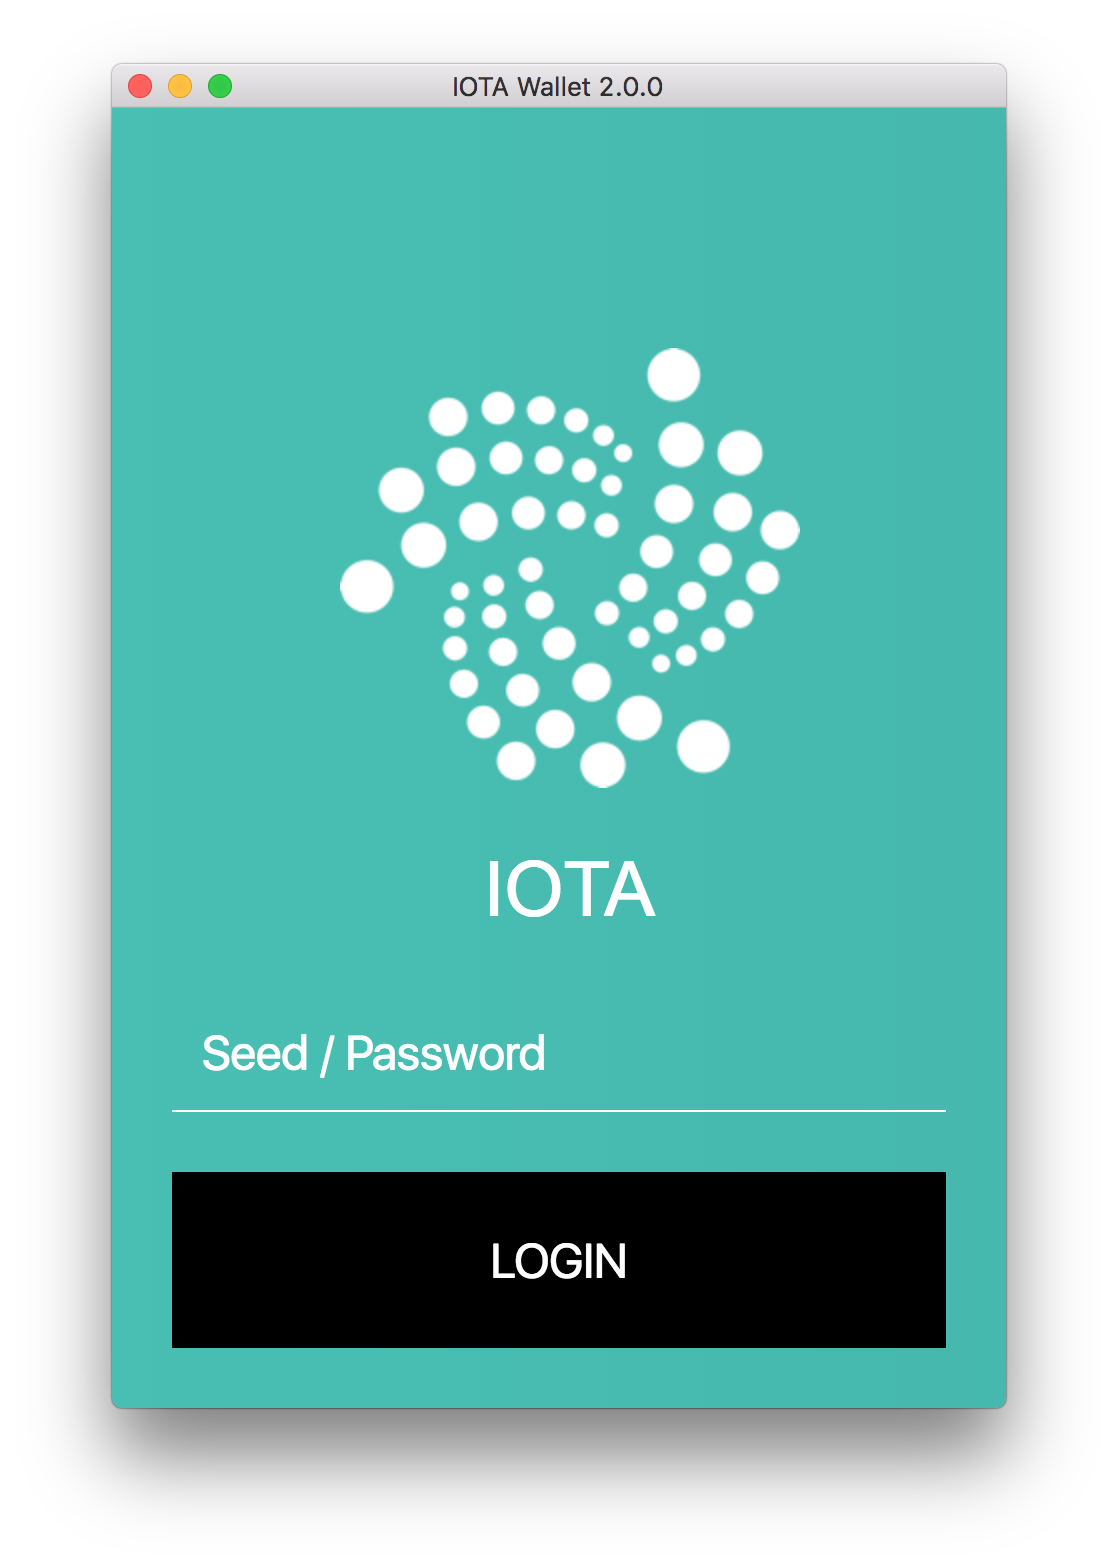
The prerequisite for you to use IOTA is that you have a unique seed. A seed is basically your key that is able to unlock your account.As such, make sure that it is safe at all times and that only you know it!
A seed can be generated from uppercase latin letters and the number 9. For example, a valid seed is: A9FGA9FLKIQM. An invalid seed is A5&&%§Ba#+. You get the idea.
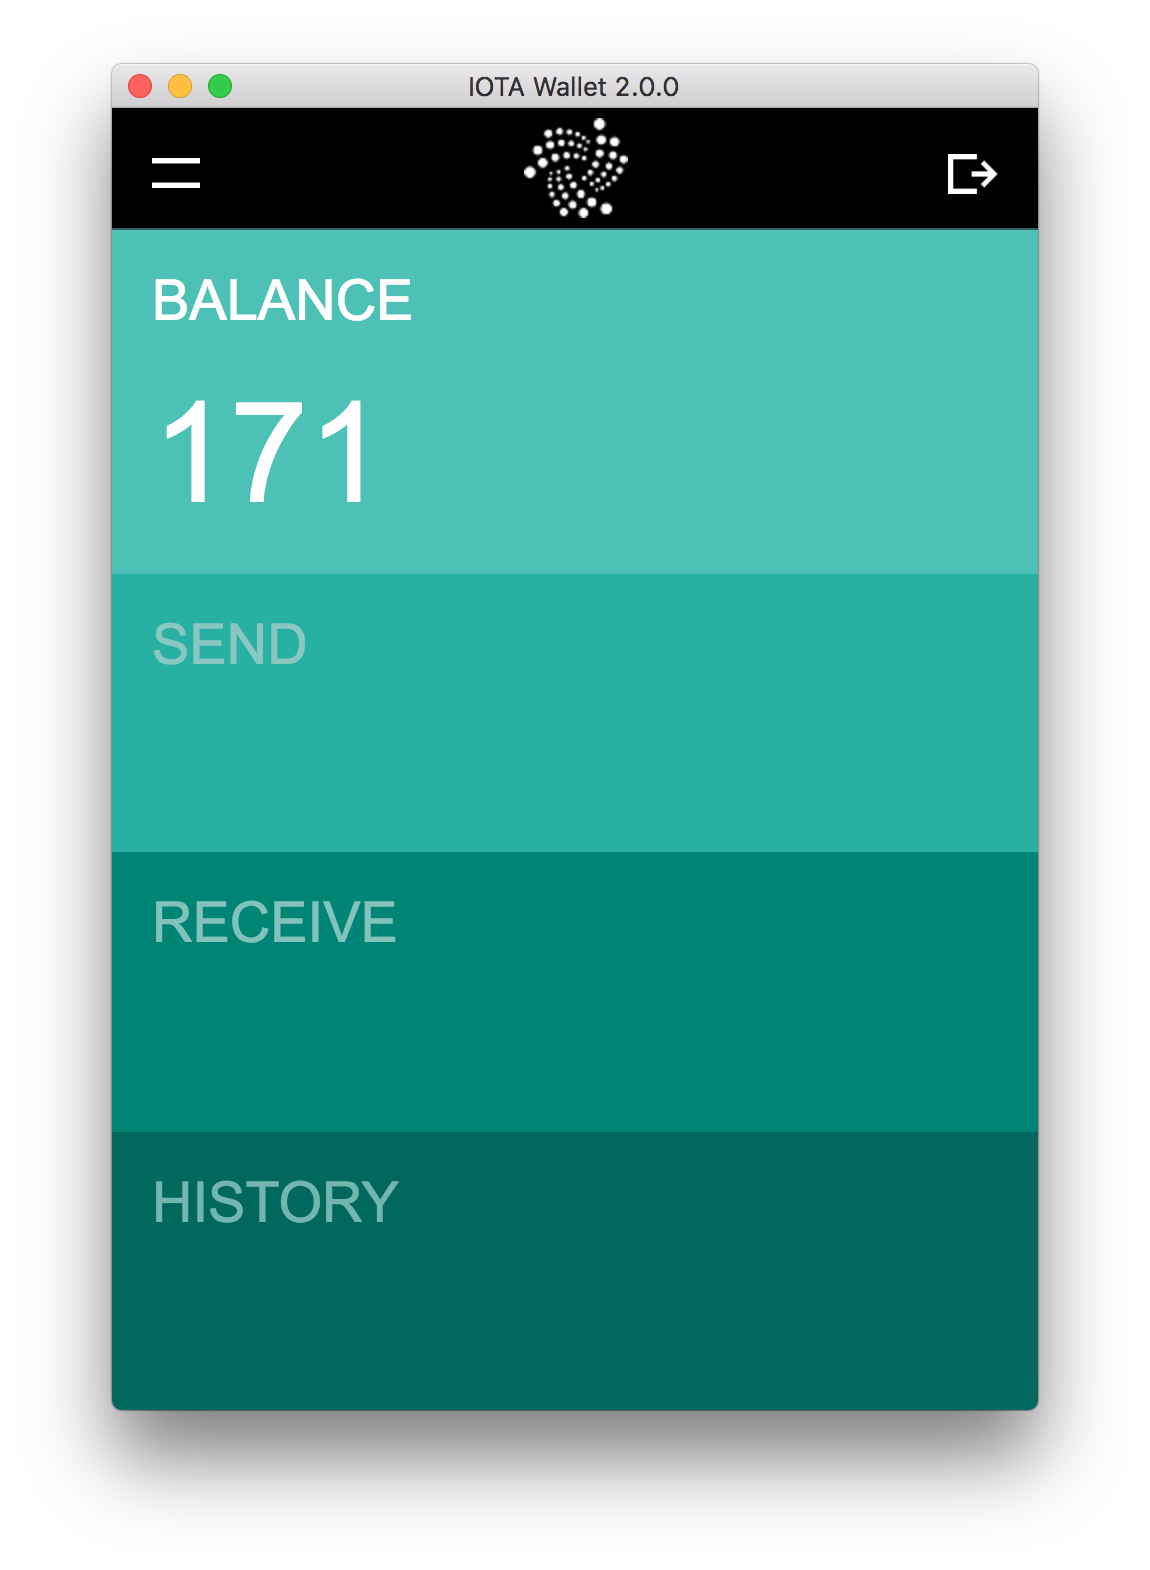
Once you have chosen your seed, type it into the login screen and hit enter. If you are using an existing seed and have had previous activity, you will see all of your account activity in one view (see gif above). If you are new to the GUI, it’s time to generate a new address. But first, lets find some neighbors!
A prerequisite for running IOTA is to have active neighbors. Because IOTA does not utilize a global DHT for automated peer discovery, you have to manually find neighbors.
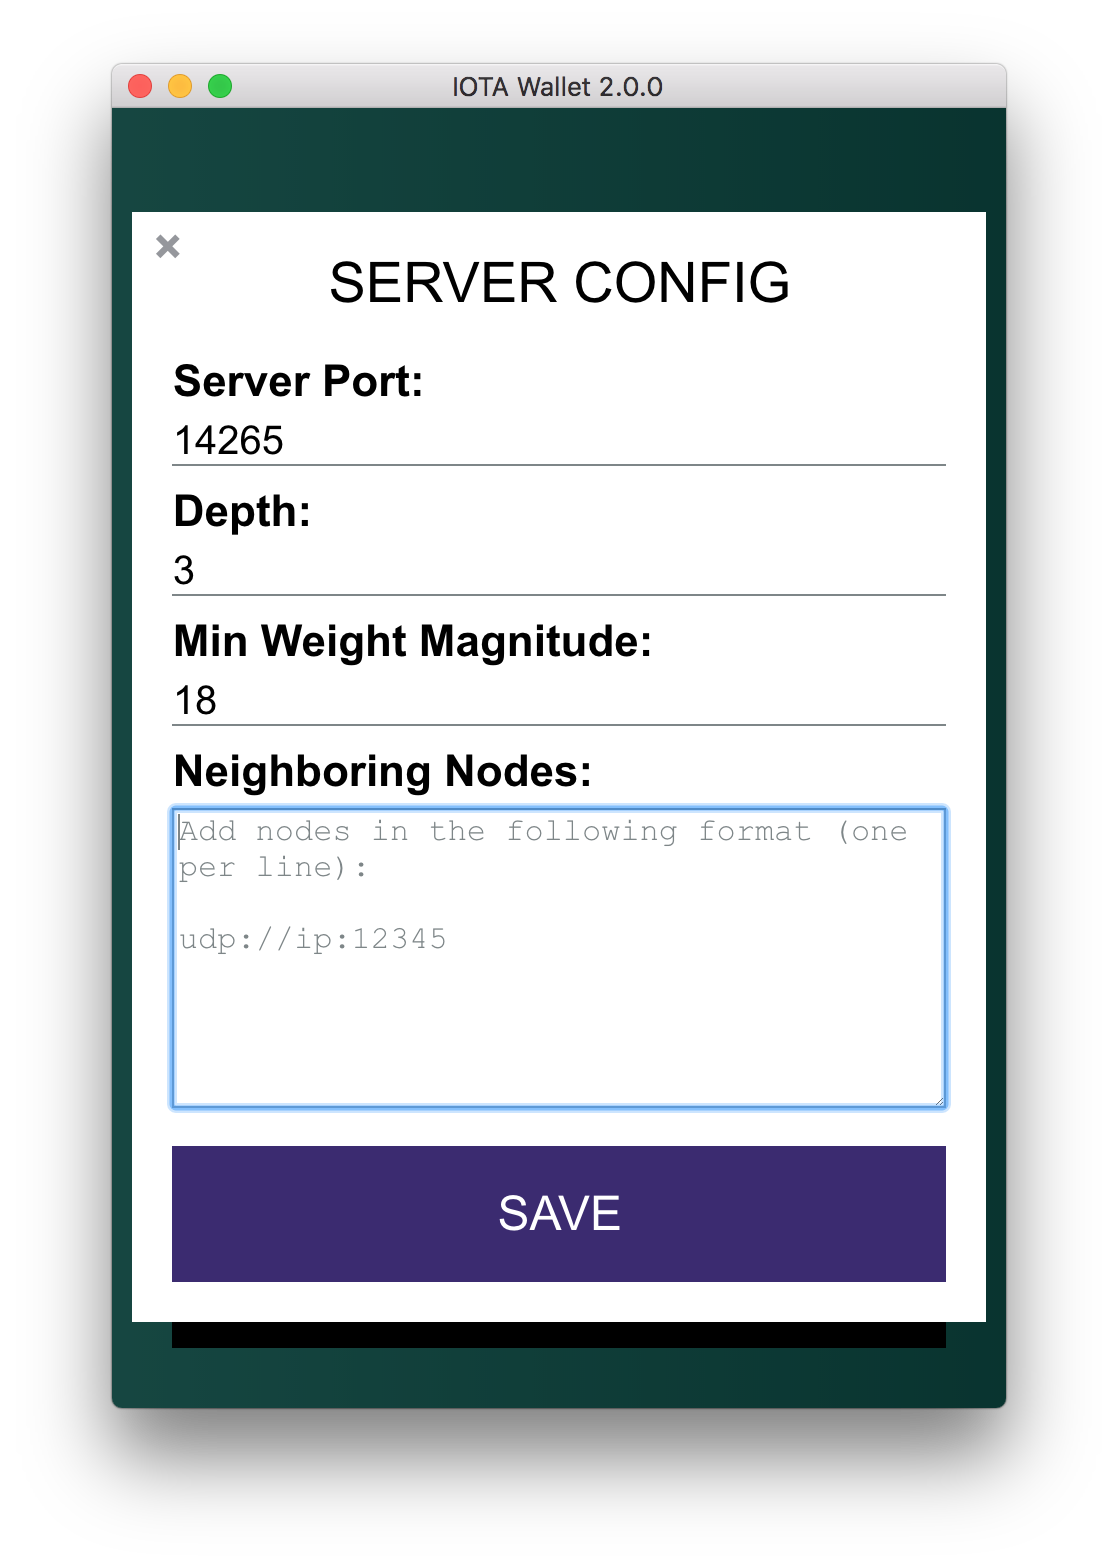
What this means is that you have to search for neighbors either on our Slack, the Forum or other communication channels. Once you have found neighbors, you have to exchange IP’s and your ports and add each other to your local node. You can add a new neighbor by clicking onTools -> Edit Server Configuration. If you are using a dynamic IP, keep in mind that your IP might change every ~8 hours or so!
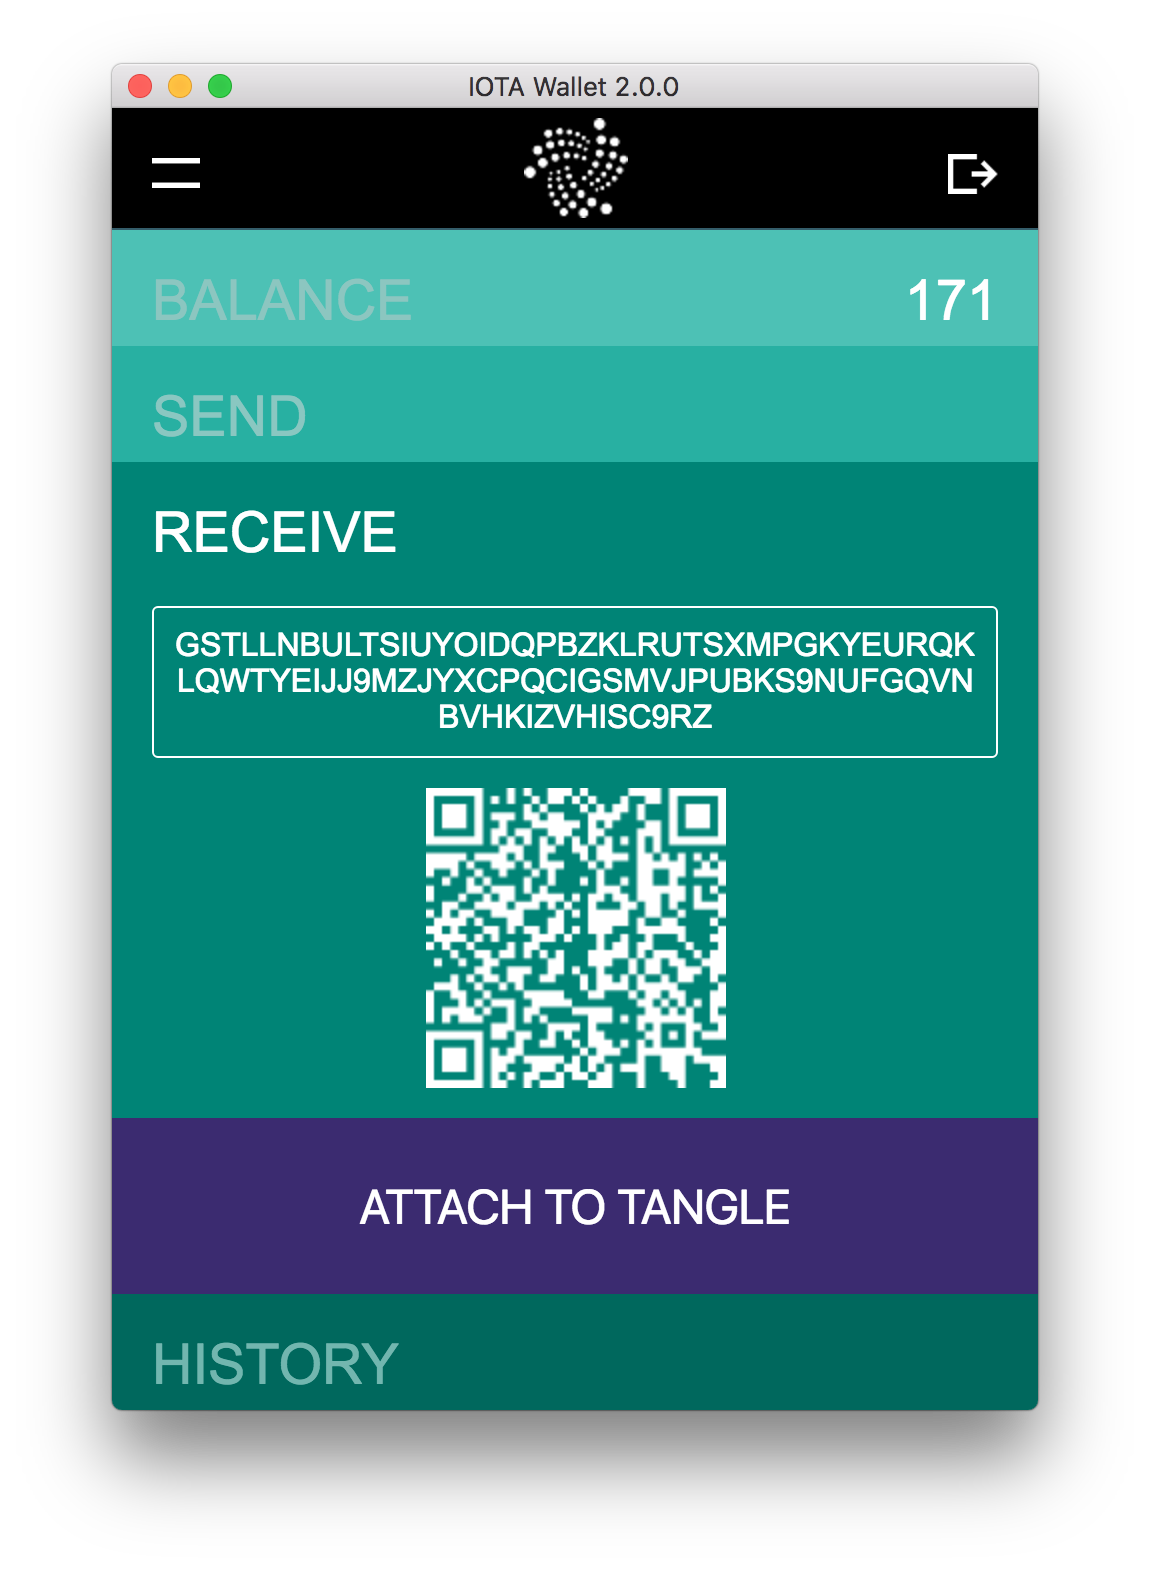
In order to receive IOTA tokens, you obviously need an address. Upon opening the GUI, there is already a pre-generated address for you. In order to successfully reuse this address, you have to attach it to the Tangle.
What this means is that you are basically storing the address in the Tangle, this makes it possible for you to access your account from all over the globe. No wallet.dat or local storage required! In addition to that, we use a deterministic scheme to generate addresses via this mechanism.
After you have attached your address successfully, you can share it with others and accept tokens!
Obviously before you can make a transaction, you need to have IOTA tokens. If you already have some, great! Else, if you want to start testing, you can either buy tokens or you can ask on Slack or on the Forum for people to send you some tokens to play with. Usually people are eager to help out, so just ask.
In order to send a transaction, you need to get the address with checksum of your recipient. The best way to determine if it’s a valid address is to check its length: addresses with checksum are 90-chars long.
The GUI offers you an option to easily switch between the available possible units. IOTA uses the standard scientific notation, as such the available units are: i, Ki, Mi, Gi, Ti.
Once you hit the “Send it Now” button, the transaction process is initiated. After several minutes (this might take a while, depending on your computer, so be patient), the Proof of Work should be done and your transaction successfully broadcast to your neighbors. Once it’s received and validated by someone else, you will see the balance deducted and the transaction status go toConfirmed.
This section is only relevant for those who have previously used and owned IOTA tokens. If you are not one of those, you can just skip this section.
This section is only relevant for those who have previously used and owned IOTA tokens. If you are not one of those, you can just skip this section.
As we underwent a recent “transition period”, users were required to go through an process for claiming their tokens again. The GUI provides an easy to use, automated process for exactly this.
Simply go toTools -> Claim Process, then enter your old seed (the one that contains your tokens) and a new seed. The new seed will then be used to generate a new address with, which will then receive your tokens once the Claim has been successfully processed by the network. As easy as that!
There are obviously many other featurs in the GUI: you can view your neighbors activity, your general node info, you can change the depth and minWeightMagnitude parameters (although we advise against that), you can look up the debugger and much more.
powered.by.rabbut.com
The GUI as it stands today is a MVP (Minimum Viable Product). As such it is not optimized and we have some features on our to-do list that we would like to add in the near future (compiling IRI from source, perhaps even switch to a new front-end framework).
We will also start providing more easy to install / build options for the GUI, including snap and homebrew.
Stay tuned for more work to be published in the coming weeks!